Deploy demo app
In this guide, we'll deploy Excalidraw — a popular sketching and diagramming tool — to your Linux server. You'll learn the basics of Uncloud and see how simple it is to run web apps on your own infrastructure with secure internet access.
To give you a chance to play with Uncloud without even leaving your browser or needing your own servers, we're providing interactive tutorials and playgrounds on the iximiuz Labs platform.
You can follow this tutorial which walks you through creating a new cluster with two machines and then deploying a simple web service to it.
You can also launch the Uncloud playground where you can play with an already initialized Uncloud cluster.
Prerequisites
Before you begin, you'll need:
- Uncloud CLI installed on your local machine
- A Ubuntu or Debian server with public IP address and SSH access using a private key (as
rootor a user with passwordlesssudoprivileges).
A small Virtual Private Server (VPS) or dedicated server from providers like Hetzner or DigitalOcean is a great choice for learning Uncloud and running lightweight services. We recommend using a freshly installed server as existing services on ports 80 and 443 can cause conflicts.
Minimum requirements: 1 vCPU, 512 MB RAM, Ubuntu 22.04 or Debian 11, AMD64 (recommended) or ARM64 architecture. Other Linux distributions may work, but haven't been tested yet.
Set up your server
First, let's turn your server into an Uncloud machine. This simply means setting it up so you can deploy and manage
services on it using uc.
uc machine init root@<your-server-ip>
If the SSH key to access your server isn't added to your SSH agent, specify it
with the -i flag:
uc machine init root@<your-server-ip> -i ~/.ssh/id_xxx
This command will:
- Install the latest stable Docker version on your server if it's not already installed
- Install the Uncloud daemon on your server
- Create a Docker network for Uncloud-managed containers
- Deploy Caddy as your reverse proxy listening on host ports 80 and 443
- Reserve a free
xxxxxx.uncld.devsubdomain via the Uncloud managed DNS service and point it to your server's IP
All in about a minute!
💡 Expand to see example output
$ uc machine init [email protected]
Downloading Uncloud install script: https://raw.githubusercontent.com/psviderski/uncloud/refs/heads/main/scripts/install.sh
⏳ Running Uncloud install script...
⏳ Installing Docker...
# Executing docker install script, commit: 53a22f61c0628e58e1d6680b49e82993d304b449
+ sh -c apt-get -qq update >/dev/null
+ sh -c DEBIAN_FRONTEND=noninteractive apt-get -y -qq install ca-certificates curl >/dev/null
+ sh -c install -m 0755 -d /etc/apt/keyrings
+ sh -c curl -fsSL "https://download.docker.com/linux/ubuntu/gpg" -o /etc/apt/keyrings/docker.asc
+ sh -c chmod a+r /etc/apt/keyrings/docker.asc
+ sh -c echo "deb [arch=amd64 signed-by=/etc/apt/keyrings/docker.asc] https://download.docker.com/linux/ubuntu noble stable" > /etc/apt/sources.list.d/docker.list
+ sh -c apt-get -qq update >/dev/null
+ sh -c DEBIAN_FRONTEND=noninteractive apt-get -y -qq install docker-ce docker-ce-cli containerd.io docker-compose-plugin docker-ce-rootless-extras docker-buildx-plugin >/dev/null

Running kernel seems to be up-to-date.

No services need to be restarted.

No containers need to be restarted.

No user sessions are running outdated binaries.

No VM guests are running outdated hypervisor (qemu) binaries on this host.
+ sh -c docker version
Client: Docker Engine - Community
 Version:           28.2.1
 API version:       1.50
 Go version:        go1.24.3
 Git commit:        879ac3f
 Built:             Wed May 28 19:25:01 2025
 OS/Arch:           linux/amd64
 Context:           default

Server: Docker Engine - Community
 Engine:
  Version:          28.2.1
  API version:      1.50 (minimum version 1.24)
  Go version:       go1.24.3
  Git commit:       0e2cc22
  Built:            Wed May 28 19:25:01 2025
  OS/Arch:          linux/amd64
  Experimental:     false
 containerd:
  Version:          1.7.27
  GitCommit:        05044ec0a9a75232cad458027ca83437aae3f4da
 runc:
  Version:          1.2.5
  GitCommit:        v1.2.5-0-g59923ef
 docker-init:
  Version:          0.19.0
  GitCommit:        de40ad0

================================================================================

To run Docker as a non-privileged user, consider setting up the
Docker daemon in rootless mode for your user:

    dockerd-rootless-setuptool.sh install

Visit https://docs.docker.com/go/rootless/ to learn about rootless mode.


To run the Docker daemon as a fully privileged service, but granting non-root
users access, refer to https://docs.docker.com/go/daemon-access/

WARNING: Access to the remote API on a privileged Docker daemon is equivalent
         to root access on the host. Refer to the 'Docker daemon attack surface'
         documentation for details: https://docs.docker.com/go/attack-surface/

================================================================================

✓ Docker installed successfully.
✓ Linux user and group 'uncloud' created.
⏳ Installing Uncloud binaries...
⏳ Downloading uncloudd binary: https://github.com/psviderski/uncloud/releases/latest/download/uncloudd_linux_amd64.tar.gz
✓ uncloudd binary installed: /usr/local/bin/uncloudd
⏳ Downloading uninstall script: https://raw.githubusercontent.com/psviderski/uncloud/refs/heads/main/scripts/uninstall.sh
✓ uncloud-uninstall script installed: /usr/local/bin/uncloud-uninstall
✓ Systemd unit file created: /etc/systemd/system/uncloud.service
Created symlink /etc/systemd/system/multi-user.target.wants/uncloud.service → /etc/systemd/system/uncloud.service.
⏳ Downloading uncloud-corrosion binary: https://github.com/psviderski/corrosion/releases/latest/download/corrosion-x86_64-unknown-linux-gnu.tar.gz
✓ uncloud-corrosion binary installed: /usr/local/bin/uncloud-corrosion
✓ Systemd unit file created: /etc/systemd/system/uncloud-corrosion.service
⏳ Starting Uncloud machine daemon (uncloud.service)...
✓ Uncloud machine daemon started.
✓ Uncloud installed on the machine successfully! 🎉
Cluster initialised with machine 'machine-dc3c' and saved as context 'default' in your local config (/Users/spy/.config/uncloud/config.yaml)
Current cluster context is now 'default'.
Waiting for the machine to be ready...

Reserved cluster domain: 7za6s7.uncld.dev
[+] Deploying service caddy 7/2
 ✔ Container caddy-d7uk on machine-dc3c     Started                                            6.1s
   ✔ Image caddy:2.10.0 on machine-dc3c       Pulled                                           3.7s

Updating cluster domain records in Uncloud DNS to point to machines running caddy service...
[+] Verifying internet access to caddy service 1/1
 ✔ Machine machine-dc3c (157.180.72.195)  Reachable                                            0.7s

DNS records updated to use only the internet-reachable machines running caddy service:
  *.7za6s7.uncld.dev  A → 157.180.72.195
Deploy Excalidraw
Now that your machine is set up, let's deploy excalidraw service from the
official Docker image. The service will publish the container port 80
as HTTPS endpoint on the previously reserved domain via Caddy.
uc run --name excalidraw --publish 80/https excalidraw/excalidraw
You'll see the progress of the deployment and the public URL where you can access the service:
[+] Running service excalidraw (replicated mode) 2/2
 ✔ Container excalidraw-azpc on machine-dc3c  Started                       8.9s
   ✔ Image excalidraw/excalidraw on machine-dc3c  Pulled                    4.7s

excalidraw endpoints:
 • https://excalidraw.7za6s7.uncld.dev → :80
Verify your deployment
After the service is deployed, use the uc inspect command to check its status and details:
uc inspect excalidraw
ID:    4d2de1600b6ada221a03896cd388836c
Name:  excalidraw
Mode:  replicated

CONTAINER ID   IMAGE                   CREATED              STATUS                        MACHINE
fde7ac7f11ad   excalidraw/excalidraw   About a minute ago   Up About a minute (healthy)   machine-dc3c
In this example, the service has one container running on the machine machine-dc3c (our server). The container is up
and healthy.
You can also list all deployed services and their public endpoints using the uc ls command:
uc ls
NAME         MODE         REPLICAS   ENDPOINTS
caddy        global       1
excalidraw   replicated   1          https://excalidraw.7za6s7.uncld.dev → :80
You can see caddy service listed here. That's your reverse proxy, running as a regular Uncloud service.
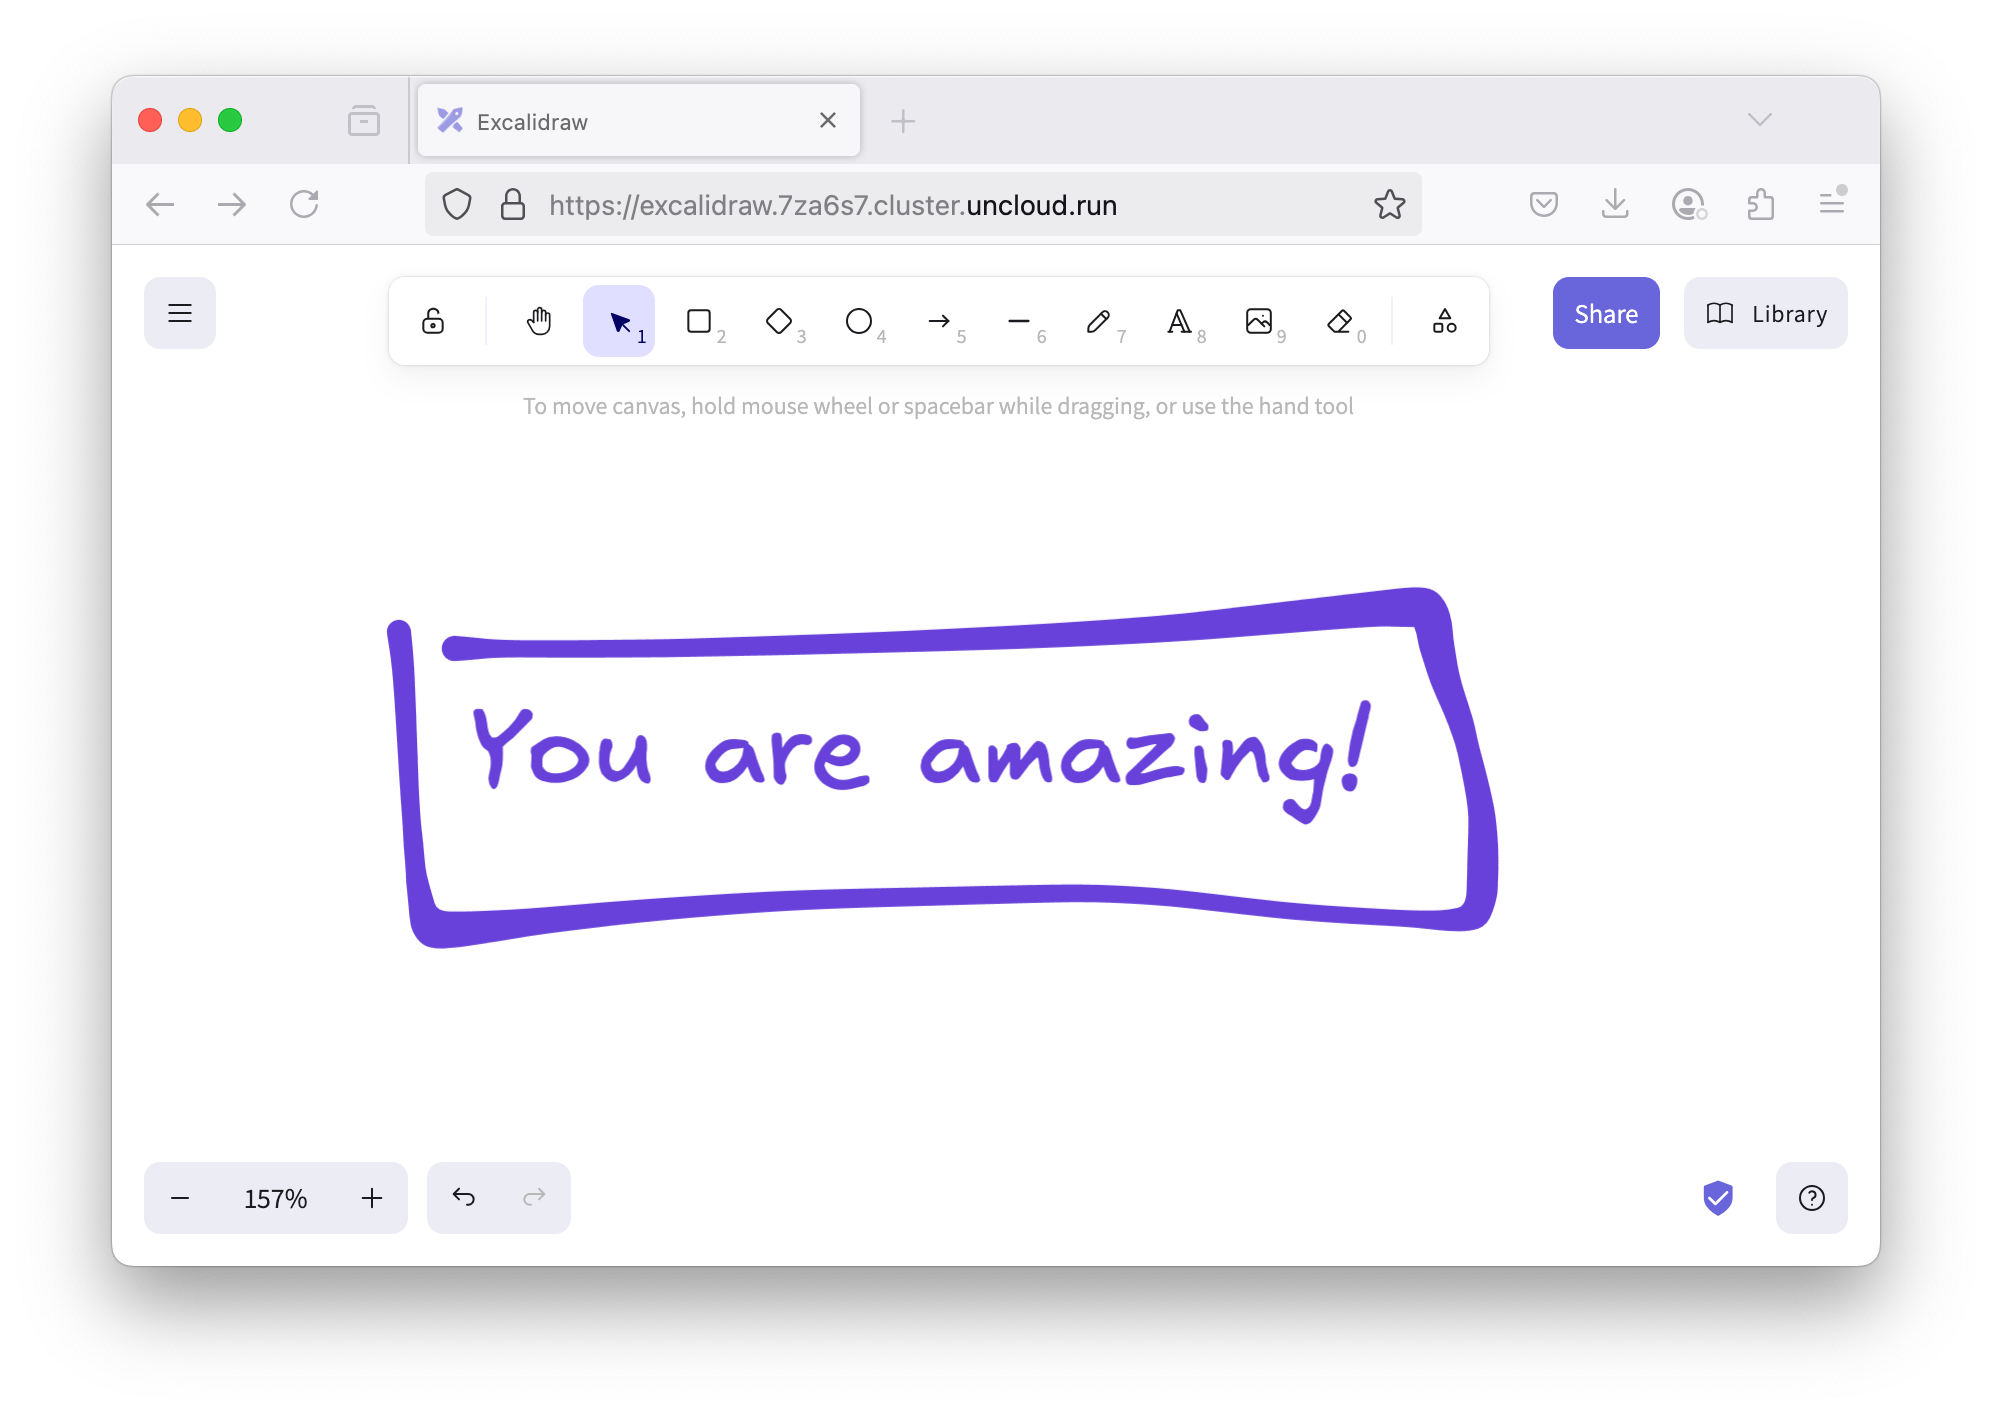
It's live! Start drawing! ✨
Open your browser and navigate to the URL shown in the endpoints. It may take a moment for Caddy to obtain a TLS certificate from Let's Encrypt. If it doesn't load immediately, wait a few seconds and try again.
You now have:
- Your own Excalidraw instance running on your server
- A public URL with automatic HTTPS you can share with your team and friends
- Full control over your data — no analytics or tracking
Convert to Docker Compose format
Uncloud supports the Compose file format for defining services. This allows you to version control your deployments, share configurations with your team, and deploy complex multi-service applications with a single command.
Let's create a compose.yaml file in your current directory for the excalidraw service we just deployed.
services:
  excalidraw:
    image: excalidraw/excalidraw
    x-ports:
      - 80/https
The x-ports key is an Uncloud-specific extension to the Compose file format. It allows you to specify ports that
should be published as HTTP(S) endpoints. Uncloud automatically configures the reverse proxy (Caddy) to route traffic to
these ports.
Now deploy it:
uc deploy
Services are up to date.
Since excalidraw service is already running with the same configuration, Uncloud recognises there's nothing to change.
We've successfully converted our deployment created with uc run to a Compose file.
Use your own domain
Want to use your own domain, for example, excalidraw.example.com instead of excalidraw.7za6s7.uncld.dev?
Add a CNAME record excalidraw.example.com in your DNS provider (Cloudflare, Namecheap, etc.) pointing to
excalidraw.7za6s7.uncld.dev. Alternatively, you can add an A record pointing to your server's IP.
These instructions set up your own domain in addition to the Uncloud managed DNS name
excalidraw.7za6s7.uncld.dev.
If you want to avoid the managed service altogether, add --no-dns to your uc machine init command, and point an A
DNS record to your server(s)'s IP(s).
Then update the published port 80/https in compose.yaml to use your domain:
...
x-ports:
  - excalidraw.example.com:80/https
Finally, deploy the changes:
uc deploy
Deployment plan:
- Deploy service [name=excalidraw]
  - machine-dc3c: Run container [image=excalidraw/excalidraw]
  - machine-dc3c: Remove container [name=excalidraw-azpc]

Do you want to continue?

Choose [y/N]: y
Chose: Yes!

[+] Deploying services 2/2
 ✔ Container excalidraw-0z12 on machine-dc3c  Started                       3.5s
 ✔ Container excalidraw-azpc on machine-dc3c  Removed                       3.4s
Notice how Uncloud performed a zero-downtime deployment — it started the new container with the updated configuration before removing the old one. Your service stayed available throughout the update.
Give it a moment for Caddy to obtain a TLS certificate, then visit https://excalidraw.example.com.
Clean up
When you're done experimenting, you can remove the excalidraw service or uninstall Uncloud completely.
Remove the service
Remove the excalidraw service while keeping your Uncloud machine running for future deployments:
uc rm excalidraw
Uninstall Uncloud
If you want to completely uninstall Uncloud from your server and clean up everything it created, SSH into your server and run:
sudo uncloud-uninstall
This command will:
- Remove all Uncloud-managed containers (including Caddy)
- Remove the Uncloud-managed Docker and WireGuard networks
- Uninstall the Uncloud daemon from the server
💡 Expand to see example output
⚠️This script will uninstall Uncloud and remove ALL Uncloud managed containers on this machine.
The following actions will be performed:
- Remove Uncloud systemd services
- Remove Uncloud binaries and data
- Remove Uncloud user and group
- Remove all Docker containers managed by Uncloud
- Remove Uncloud Docker network
- Remove Uncloud WireGuard interface
Do you want to proceed with uninstallation? [y/N] y
⏳ Stopping systemd services...
Removed "/etc/systemd/system/multi-user.target.wants/uncloud.service".
The unit files have no installation config (WantedBy=, RequiredBy=, UpheldBy=,
Also=, or Alias= settings in the [Install] section, and DefaultInstance= for
template units). This means they are not meant to be enabled or disabled using systemctl.

Possible reasons for having these kinds of units are:
• A unit may be statically enabled by being symlinked from another unit's
  .wants/, .requires/, or .upholds/ directory.
• A unit's purpose may be to act as a helper for some other unit which has
  a requirement dependency on it.
• A unit may be started when needed via activation (socket, path, timer,
  D-Bus, udev, scripted systemctl call, ...).
• In case of template units, the unit is meant to be enabled with some
  instance name specified.
✓ Systemd services stopped.
⏳ Removing systemd service files...
removed '/etc/systemd/system/uncloud.service'
removed '/etc/systemd/system/uncloud-corrosion.service'
✓ Systemd service files removed.
⏳ Removing binaries...
removed '/usr/local/bin/uncloudd'
removed '/usr/local/bin/uncloud-corrosion'
✓ Binaries removed.
⏳ Removing data and run directories...
removed '/var/lib/uncloud/machine.db-wal'
removed '/var/lib/uncloud/caddy/caddy/autosave.json'
removed directory '/var/lib/uncloud/caddy/caddy'
removed '/var/lib/uncloud/caddy/caddy.json'
removed directory '/var/lib/uncloud/caddy'
removed '/var/lib/uncloud/machine.json'
removed '/var/lib/uncloud/machine.db-shm'
removed '/var/lib/uncloud/corrosion/admin.sock'
removed '/var/lib/uncloud/corrosion/config.toml'
removed '/var/lib/uncloud/corrosion/subscriptions/b4e825113f1143e5b27715b62193a9f8/sub.sqlite-wal'
removed '/var/lib/uncloud/corrosion/subscriptions/b4e825113f1143e5b27715b62193a9f8/sub.sqlite-shm'
removed '/var/lib/uncloud/corrosion/subscriptions/b4e825113f1143e5b27715b62193a9f8/sub.sqlite'
removed directory '/var/lib/uncloud/corrosion/subscriptions/b4e825113f1143e5b27715b62193a9f8'
removed '/var/lib/uncloud/corrosion/subscriptions/5e04cbb20a2743c382cfbd4949922351/sub.sqlite'
removed directory '/var/lib/uncloud/corrosion/subscriptions/5e04cbb20a2743c382cfbd4949922351'
removed directory '/var/lib/uncloud/corrosion/subscriptions'
removed '/var/lib/uncloud/corrosion/schema.sql'
removed '/var/lib/uncloud/corrosion/store.db'
removed directory '/var/lib/uncloud/corrosion'
removed '/var/lib/uncloud/machine.db'
removed directory '/var/lib/uncloud'
removed directory '/run/uncloud'
✓ Data and run directories removed.
⏳ Removing Linux user and group...
✓ Linux user 'uncloud' removed.
Linux group 'uncloud' does not exist or was already removed.
⏳ Looking for Docker containers and network created by Uncloud...
Found 4 Uncloud managed containers.
⏳ Stopping Uncloud managed containers...
20613f6046d0
1f1a65b78e93
4300bde4a2b0
053fdd57ec56
⏳ Removing Uncloud managed containers...
20613f6046d0
1f1a65b78e93
4300bde4a2b0
053fdd57ec56
✓ Uncloud managed containers stopped and removed.
⏳ Removing Docker network uncloud...
uncloud
✓ Docker network uncloud removed.
⏳ Removing WireGuard interface uncloud...
✓ WireGuard interface uncloud removed.
⏳ Removing uninstall script...
removed '/usr/local/bin/uncloud-uninstall'
✓ Uninstall script removed.

✅ Uncloud has been uninstalled successfully!
Note: Docker installation was preserved. If you want to completely remove Docker as well, follow https://docs.docker.com/engine/install/ubuntu/#uninstall-docker-engine
Further reading
- Add more machines: Scale horizontally by creating a cluster of machines
- Ingress & HTTP: Learn how Uncloud handles incoming traffic and how to expose your services to the internet
- CLI reference: Explore all available commands and options